You've got the rails, the posts, the hardware bag, and a Saturday afternoon. What you don't have is a tool you'll actually need for one specific step that nobody warns you about until you're 20 minutes in with a rail that won't seat. A riding rail kit installation tools list looks simple on paper, but the gap between "here are five tools" and "here's what actually happens on site" is where most amateur installs go wrong.
I've installed and repaired these systems on three properties, including one redo after I stripped two insert threads on a brand-new post. That failure taught me more about the tool list than any instruction sheet ever did. So here's the version I wish someone had handed me before I started.
Key Takeaways
- The tool list changes depending on whether you're installing new rails or retrofitting an existing frame — most guides ignore this split.
- You need a separate consumables list: inserts, screws, spacers, thread lubricant, and protective tape are not tools, but they're what actually fails.
- A torque wrench isn't optional on aluminum posts. Over-tightening is the single most common cause of stripped inserts.
- Renting a crimping or cutting tool for a one-off job often costs less than buying a cheap version that ruins your finish.
- Budget roughly one full day for a first-time install on a standard run, not the two hours the packaging implies.
Why your riding rail kit tool list changes by install type
Here's what tripped me up on my first build: the "kit" means different things depending on what you're mounting onto. A riding rail system that slides into premade posts has a completely different fastening sequence than one bolted onto a wood or concrete surface. Same product name, different tools.
New install vs. retrofit: a real dividing line
On a fresh install, you're drilling pilot holes, setting inserts, and assembling from scratch. That means a drill, a bit set matched to your insert diameter, and a way to keep everything square.
Retrofitting onto existing posts is messier. You're often working around old hardware, and the holes never line up the way the diagram suggests. I spent 40 minutes on one post filing out a misaligned hole because the previous installer had set the insert 3mm off-center. That's a retrofit problem, not a new-build problem, and it demands a file and a deburring tool that a fresh-install list won't mention.
What the packaging gets wrong
Manufacturers list tools in the order you'd buy them, not the order you'll use them. The result is people torque down the first rail before checking that the second one even fits the same spacing. Do a dry fit of the entire run before you tighten anything. That single habit saved my third install from becoming a fourth.
The core tool list for a riding rail kit installation
This is the short list. Everything here earns its place.
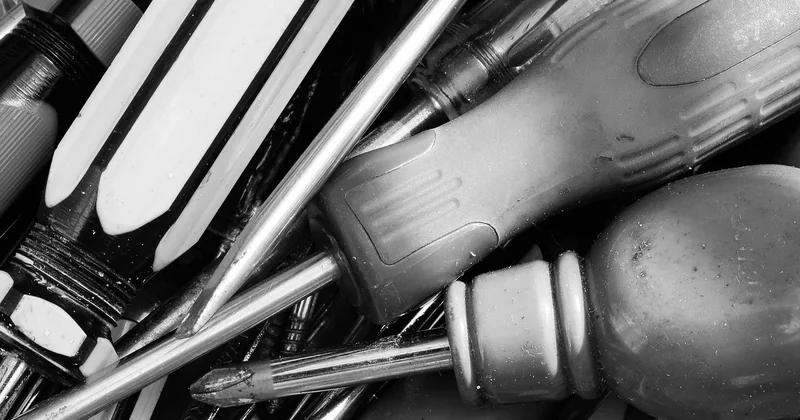
- Cordless drill or impact driver with two batteries — one will die mid-run, guaranteed
- Insert driver bit matched to your insert head (usually hex or Torx; check before you buy)
- A hex key set covering 3mm through 8mm, because post hardware rarely uses a single size
- Torque wrench in the 5–20 Nm range for aluminum posts
- Metal cutting tool — a hacksaw with a fine-tooth blade works; a powered cutter is faster but louder and less forgiving
- Rubber mallet, not a metal hammer, for seating rails without marring the finish
- Spirit level, 600mm minimum, plus a smaller one for tight spots
- Marker or scribe for layout
Notice what's not here: a tension gauge. That belongs to cable systems, and it's the most common item people buy by mistake when they're actually installing a rigid rail kit. I bought one on my first order. It's still in the box.
Do you need a torque wrench, or is it overkill?
You need it. Not for the stainless hardware — that's forgiving. For the aluminum posts, over-tightening crushes the insert threads, and once that happens the post is scrap or needs a repair insert. I torqued two inserts to failure in about 90 seconds of careless work and lost a $60 post over it. A basic torque wrench costs less than that post.
Where cheap tools cost you more
A bargain cutting blade leaves burrs that scratch the rail as it slides in. A cheap insert bit rounds off the head and you're drilling out a seized screw. Both of these cost me a return trip to the hardware store, which is two hours I don't get back.
Consumables that belong on the list too
Tools you reuse. Consumables you don't. Skipping this section is how people end up one screw short at 5pm on a Sunday.

- Thread lubricant or anti-seize — a small tube goes a long way and prevents galling between stainless and aluminum
- Replacement inserts, buy 10% more than you need
- Matching screws, same count buffer
- Spacer shims in case your post spacing is off by a few millimeters
- Painter's tape or protective film for the rail faces while you work
- Shop towels and a small brush for clearing swarf out of the insert sockets
Anti-seize sounds optional. It isn't. Stainless screws into aluminum posts will gall and seize without it, and I've watched a friend snap a screw head clean off because he skipped a $6 tube.
Step-by-step: where each tool earns its keep
The order matters as much as the list. Here's how I run it now.
Layout and marking
Level, marker, tape measure. Mark every post and rail position before you touch a drill. Get the spacing identical across the whole run, because a 5mm drift compounds and you'll feel it at the last post.
Drilling and insert setting
Drill with the correct bit diameter for your insert, deburr the hole, blow out the swarf, then set the insert. This is where the insert driver bit and the mallet come in. Go slow. Fast here means stripped threads later.
Assembly and torquing
Dry fit everything first, then torque in a cross pattern rather than around the circle. The torque wrench does its job here and only here. Everything else is hand-tight.
Final quality check
Walk the full run with the level against each rail. Check for burrs you missed, wipe down the finish, and test that each rail slides or seats without resistance. If anything binds, stop and find the cause before you call it done.
Quick comparison: buy, rent, or improvise
| Tool | Buy | Rent | Improvise |
|---|---|---|---|
| Torque wrench | Yes — reusable | Rarely worth it | No — risks stripped posts |
| Powered metal cutter | Only if you install often | Best for one job | Hacksaw works fine |
| Insert driver bit | Yes, buy two | Not offered | No substitute |
| Rubber mallet | Yes — cheap and reusable | Not offered | Dead-blow hammer only |
My honest take: buy the torque wrench, the bits, and the mallet. Rent the powered cutter if you're doing a single run. Improvise nothing on the insert side.
What about old riding rail kit installation tools?
If you're working on an older system, the tool list shifts again. Older rails often use a different insert head, sometimes a slotted or Phillips style that newer kits have moved away from. The insert driver bit you bought for a current kit may not fit at all.
Test-fit your bit before you commit to a full install. I learned this the expensive way when a client's older posts took a bit size I didn't own, and the hardware store had closed by the time I found out. Older aluminum also galls faster, so anti-seize moves from "nice to have" to mandatory.
One more thing on older kits: the finish is often more brittle, so the rubber mallet matters more, not less. Metal-on-metal contact on a 15-year-old powder coat leaves a mark you'll see every day after.
The mistakes to skip
Over-tightening is number one and it's not close. Number two is skipping the deburring step after cutting — those burrs scratch the rail every time it moves. Number three is buying a tension gauge for a rigid rail system, which tells me you read a cable-railing guide and applied it to the wrong product.
The tool list isn't long. It's just specific. Get the insert side right, buy the torque wrench, keep anti-seize on hand, and the install stops being a gamble. Everything else is patience.